Devolutions Remote Desktop Manager (RDM) includes a few updates that CyberArk Secure Infrastructure Access (SIA) customers will enjoy. The updates enable the Devolutions RDM CyberArk Dashboard to have Connection Guidance functionality found on the CyberArk SIA website. In this blog we’ll take a look at the the new Devolutions CyberArk Dashboard SIA Launcher (released in version 2024.3.17.0), and an early look at the CyberArk SIA entry (version 2025.1) and their use.
CyberArk SIA was previously known as CyberArk Dynamic Privileged Access (DPA). SIA offers an agentless SaaS solution designed to be used by the functions responsible for securing privileged access to organizational assets that may be distributed across multiple hybrid and cloud environments. Access may be with zero standing privileges (ZSP) or using vaulted credentials. The solution significantly reduces the risk of standing privileges access and includes session isolation and monitoring.
In case you were unaware, CyberArk SIA is now included in with CyberArk’s Privilege Cloud offering. Yeah…talk about awesome! If you don’t see “Secure Infrastructure Access” after logging in, please reach out to your CyberArk Account Rep to have them add that to your PCloud tenant.
The Devolutions CyberArk Dashboard aims to provide RDM users with an asset-centric interface to CyberArk. Eliminate the need to use CyberArk Password Vault Web Access, PCloud, or SIA sites and connect with a list of your allowed assets directly from RDM. Remote Desktop Manager has the significant advantage of only requiring MFA once. When you launch the Dashboard, you will authenticate to CyberArk and maintain an active session in the background afterwards, eliminating the need for frequent re-authentication.
Below is an example of CyberArk SIA connection guidance that Devolutions RDM simplifies for you and makes connecting to your target system(s) seamless.

Note: My company, KeyVault Solutions, is a proud member of the Devolutions Reseller program. At the time of the writing of this blog, I’m a paid contractor for Devolutions.
Prerequisites —
- Devolutions RDM
- Devolutions CyberArk RDM Trial License activated. You can reach out to sales@devolutions.net for a trial license and pricing information. Mention that KeyVault Solutions sent you.
- CyberArk SIA deployed and configured for your environment. This includes any SIA Strong accounts, or PCloud privileged accounts (vaulted credentials) you want to utilize within RDM.
- The end user must have the CyberArk SIA “Show Dynamic Privilege Access Tile” permission to see the SIA connection guidance page. This allows the authenticated end user to utilize the related SIA API calls that RDM performs. This can also assist in troubleshooting any RDM + SIA Launcher integrations. https://docs.cyberark.com/dpa/latest/en/content/admin/dpa-conn-guidance.htm
Let’s create a CyberArk Dashboard with SIA!
- Open Devolutions RDM (at least version 2024.3.17.0 for SIA launcher)
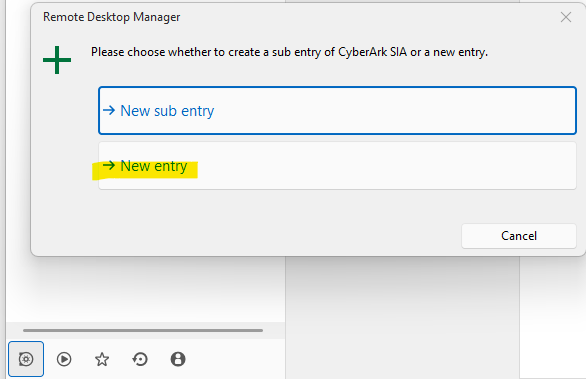
- Right click on the Navigation Bar on the left side of RDM
- Create a new entry
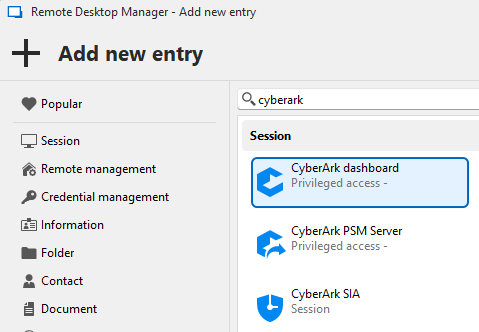
4. Search for CyberArk
5. Select CyberArk dashboard
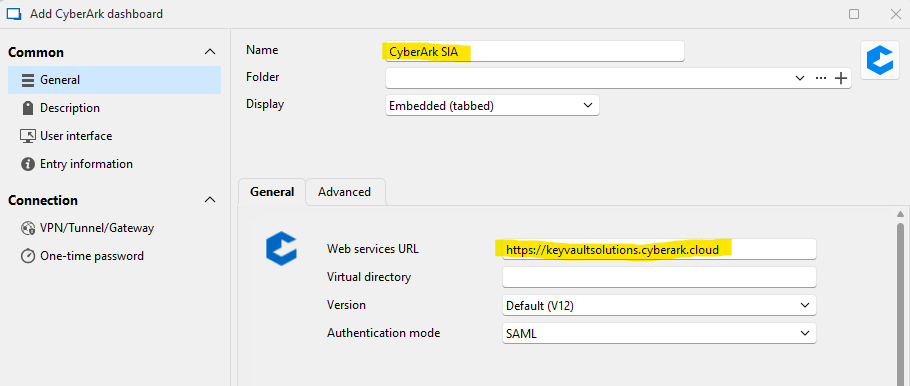
6. Populate your related CyberArk PCloud information. When finished, click add. See below for an example.
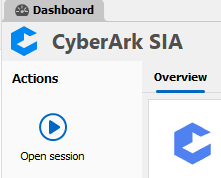
7. Select your CyberArk SIA entry from the Navigation bar. Click Open session.
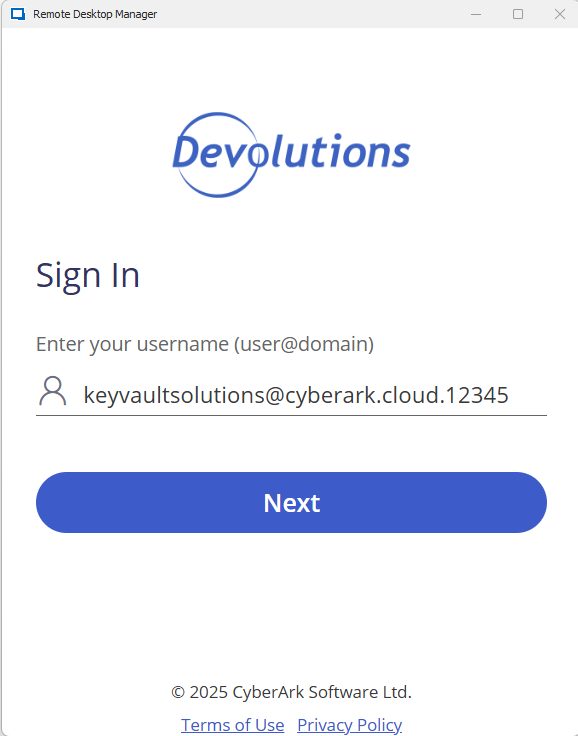
8. Authenticate to your CyberArk PCloud environment.
9. After successful authentication, you’ll now see CyberArk SIA launcher shown.
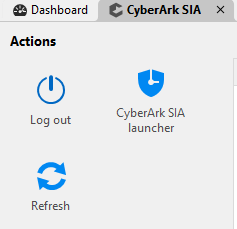
10. Click CyberArk SIA launcher. Listed below are the related CyberArk Vaulted credentials (PCloud) vs Zero Standing Privileges options available.
- RDP using Vaulted Credentials
- RDP using ZSP with a SIA strong account
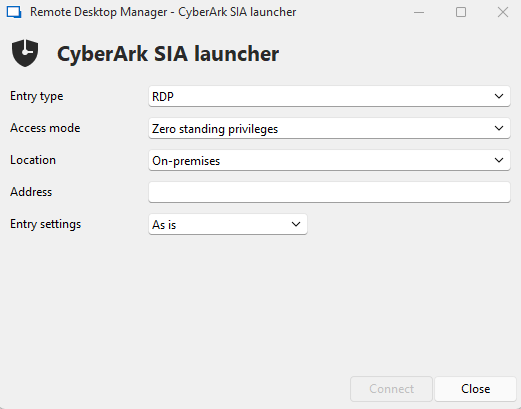
- SSH using Vaulted Credentials
- SSH using ZSP
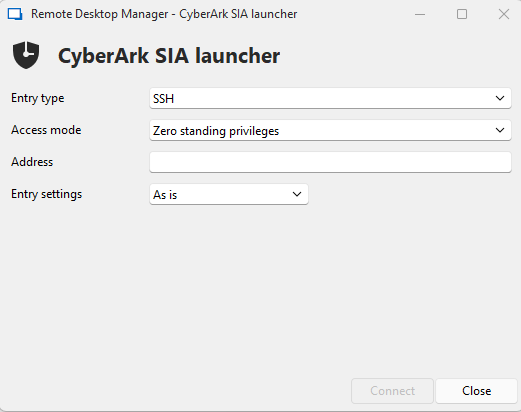
Let’s connect with RDM’s CyberArk SIA launcher with ZSP —
- Open the CyberArk SIA launcher, choose whichever option you’re wanting to utilize. In this example we’re using a CyberArk strong account to logon as an ZSP ephemeral account to the target address listed.
- Click Connect.

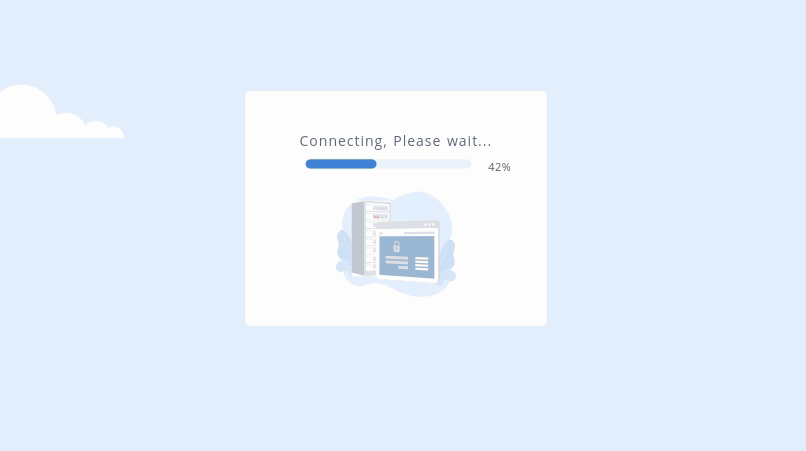
3. Wait a few seconds for the connection to establish.
4. You’re now connected!

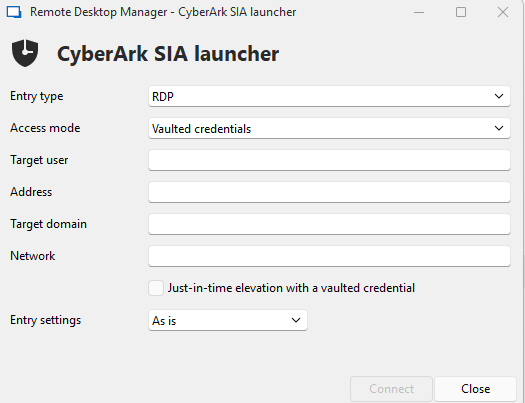
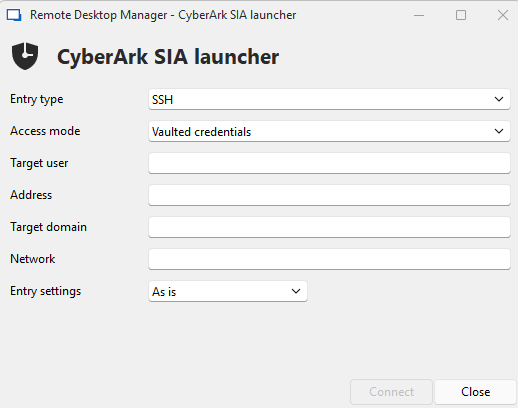
Let’s connect with RDM’s CyberArk SIA launcher with Vaulted Credentials —
- Open the CyberArk SIA launcher. This time choose Vaulted Credentials.
- Populate the related account information. For this example, we’ll set these:
- Target user: dpaadmin
- Address (server): keyvaultsolutions.acme.com
- Target domain: acme.com
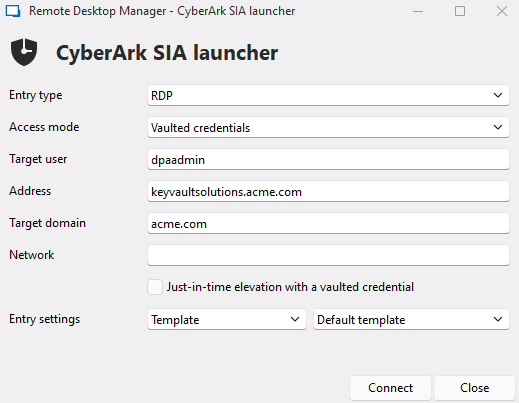
3. Click Connect.
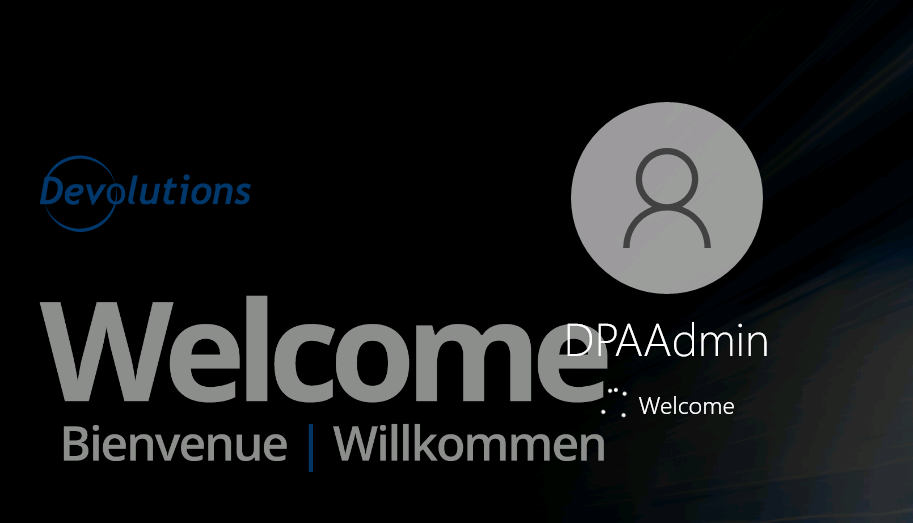
4. Wait a few seconds for the connection to establish.
5. You’re connected again, this time with the privileged dpaadmin account onto the keyvaultsolutions.acme.com server.
Let’s connect with CyberArk SIA directly with RDP —
- Open Devolutions RDM (at least version 2025.1 — this is an early look)
- Log into CyberArk SIA (PCloud)
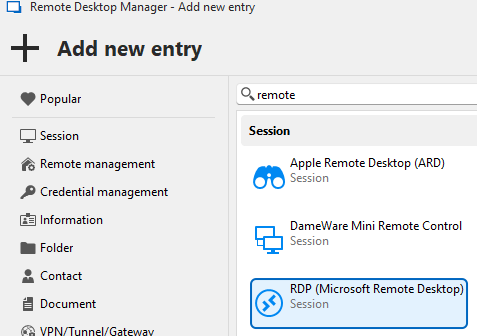
- Create a new entry.
- Search remote & select RDP (Microsoft Remote Desktop)
3. Set the RDP entry name, target address (Host), and domain.
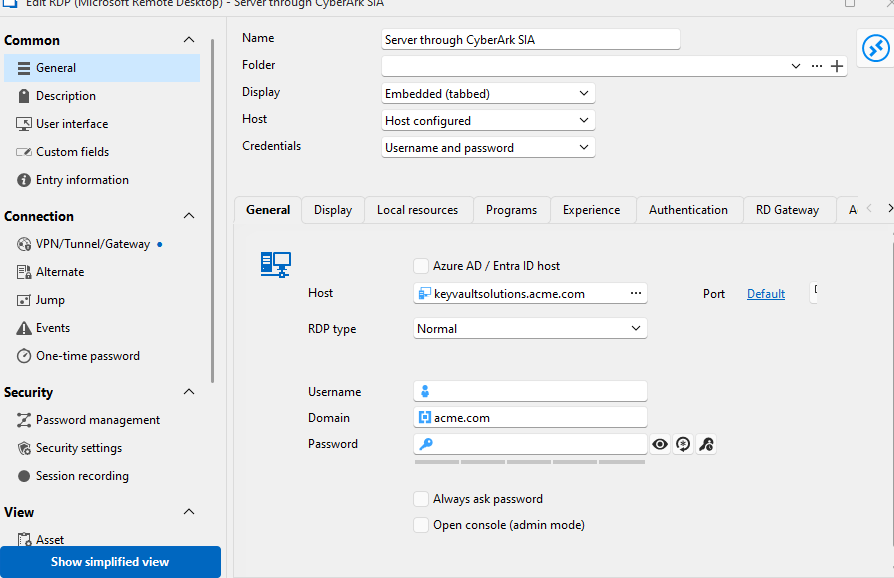
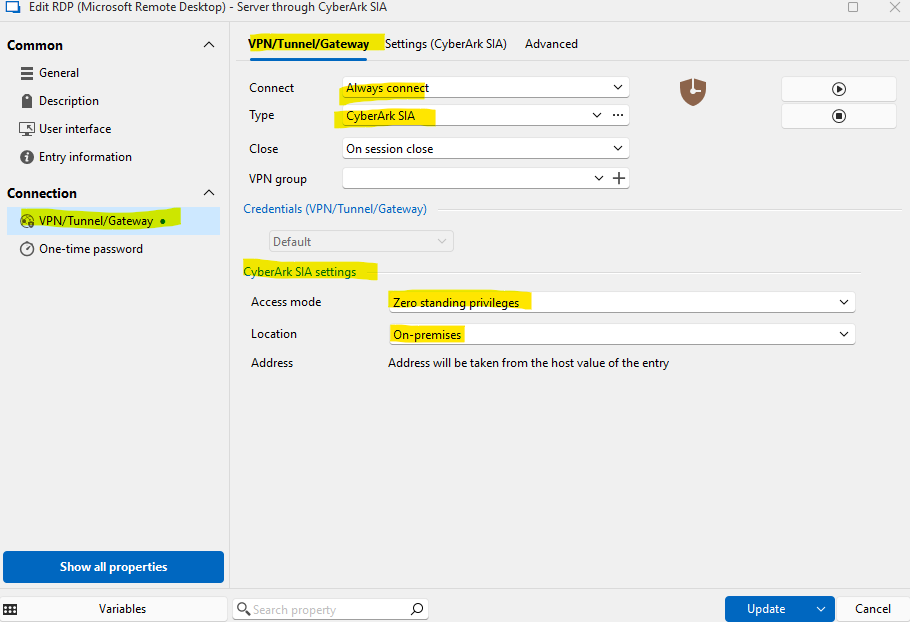
4. Select VPN/Tunnel/Gateway on the left side, choose Always connect, and CyberArk SIA for the Type. In this example, under CyberArk SIA Settings, we’ll utilize ZSP for on-prem.
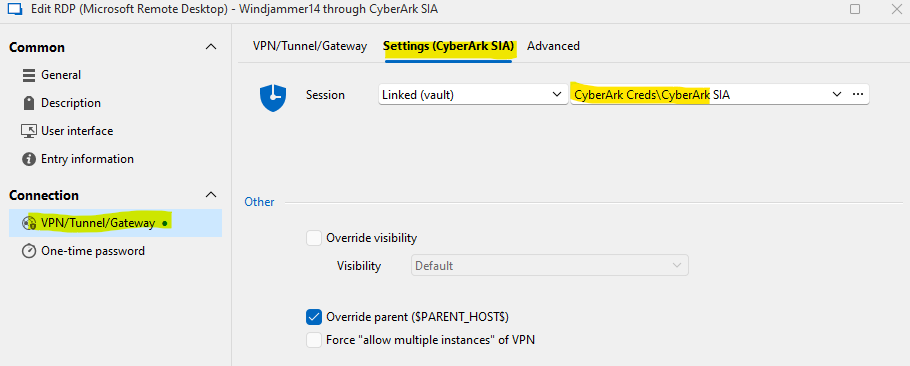
5. Under the Settings (CyberArk SIA) tab, add your related CyberArk SIA entry which you previously setup to authenticate to your CyberArk PCloud tenant. Click Add.
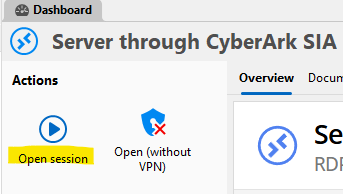
6. Click Open session for the newly created RDP entry, Server through CyberArk SIA.
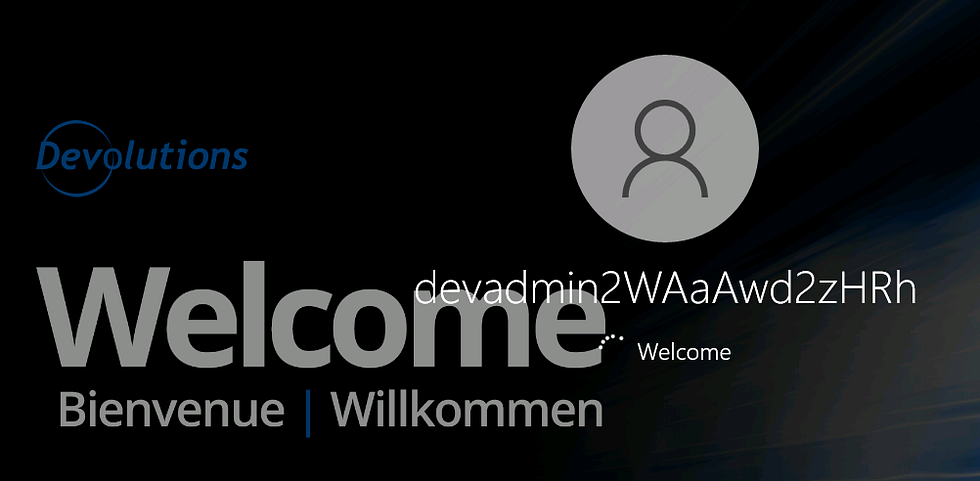
7. Wait while you’re connected to the target address (Host).
Recommended items:
- Deploy Zero Standing Privileges (ZSP) within your organization
- Utilize an improved end user interface to your privileged accounts in using Devolutions RDM + CyberArk Dashboard
- Reach out to sales@devolutions.net for a trial Devolutions CyberArk RDM license and pricing info. Mention that KeyVault Solutions sent you.
- Reach out to us at KeyVault Solutions. We’re an official Devolutions & CyberArk reseller!
Looking for a partner in your Privileged Access Management rollout?
Contact Us — https://www.keyvaultsolutions.com/pages/contact-us

Related Documentation —
- “Added CyberArk SIA Launcher to CyberArk dashboard entry, Version 2024.3.17.0 (November 5, 2024)” — https://devolutions.net/launcher/release-notes/
- Devolutions CyberArk Dashboard configuration and use - https://docs.devolutions.net/rdm/kb/how-to-articles/cyberark-dashboard-configuration/
- Devolutions CyberArk integration in RDM — https://devolutions.net/integration-center/cyberark/
- Introduction to Secure Infrastructure Access — https://docs.cyberark.com/ispss-access/latest/en/content/getstarted/acc-intro.htm
- Secure Infrastructure Access (SIA) Whitepaper — https://www.cyberark.com/resources/white-papers/secure-infrastructure-access-sia
- SIA Connection Guidance end user permissions - https://docs.cyberark.com/dpa/latest/en/content/admin/dpa-conn-guidance.htm
- SIA Best Practices: Architecture, Configuration, Security, and Operations — https://community.cyberark.com/s/article/DPA-Best-Practices
- Devolutions Academy — https://academy.devolutions.net